

6. Test and follow delivery
Time to see it work – first with a test from the dashboard, then with the real form.
Send a test from the editor
Section titled “Send a test from the editor”-
Open the Contact form template and click Send test in the top right.
-
In Send to, enter an address where you can read the result. Service defaults to Template’s service; pick another one to try it out.
-
Click Send test. You’ll see Test email sent to … and the email arrives in a moment, filled with your sample data.
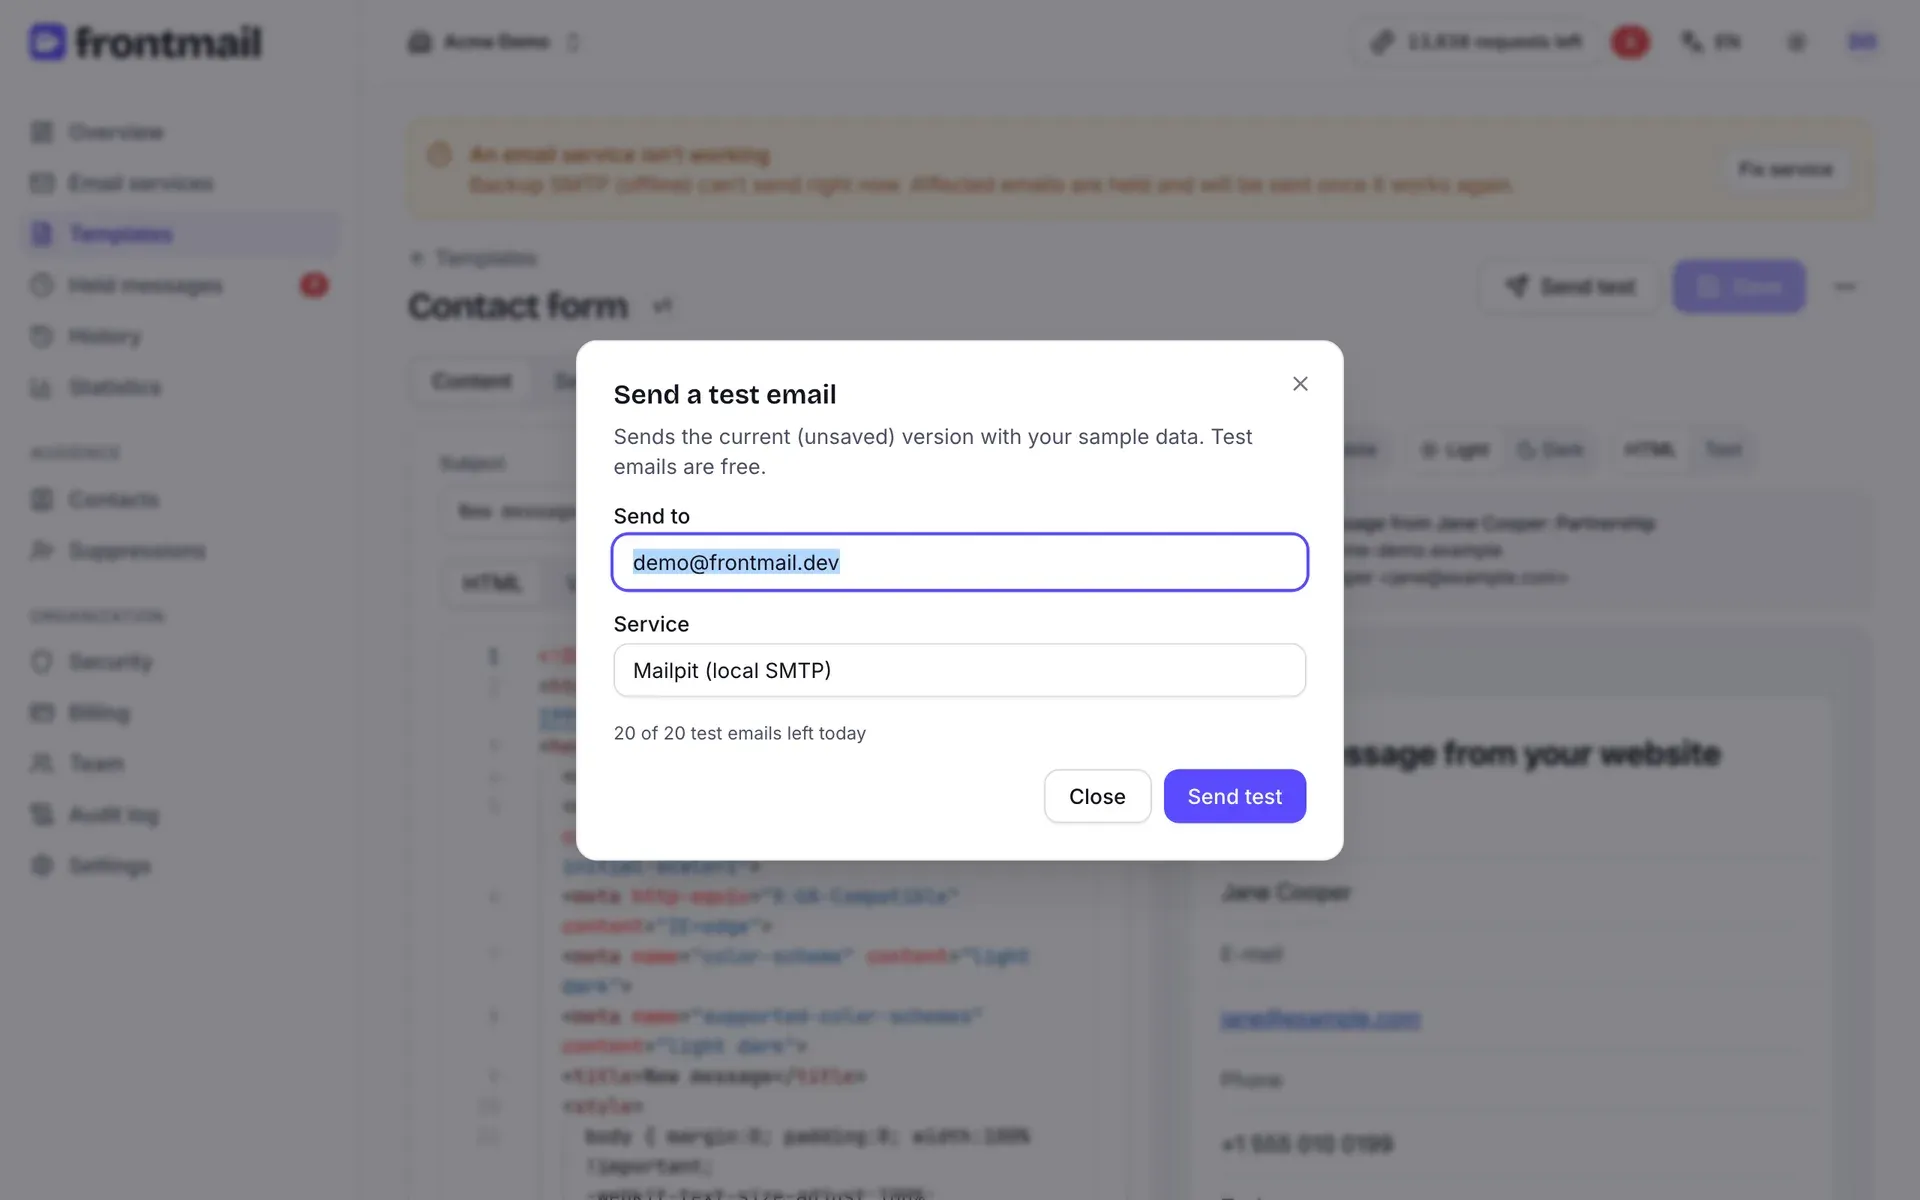
Test emails are free – they don’t use credits. You can send 20 per day; the dialog shows how many are left. A test sends the version you have open, even with unsaved changes, and it never triggers the auto-reply.
Submit the real form
Section titled “Submit the real form”Open the page with your form – on your live domain or on localhost, as long as it’s in
Allowed websites – fill it in with an address you can check, and submit. Within a few
seconds:
- the contact email lands in the inbox from the template’s To, and Reply goes to the visitor,
- the thank-you email lands in the inbox you typed into the form.
If the form shows an error instead, the message tells you why – typically origin_not_allowed
(step 4), captcha_required (the Turnstile widget is missing from the form),
captcha_not_configured (the template requires the CAPTCHA but your Turnstile keys aren’t added
yet – step 4) or
invalid_template_params (a required field is missing). See Troubleshooting.
Follow it in History
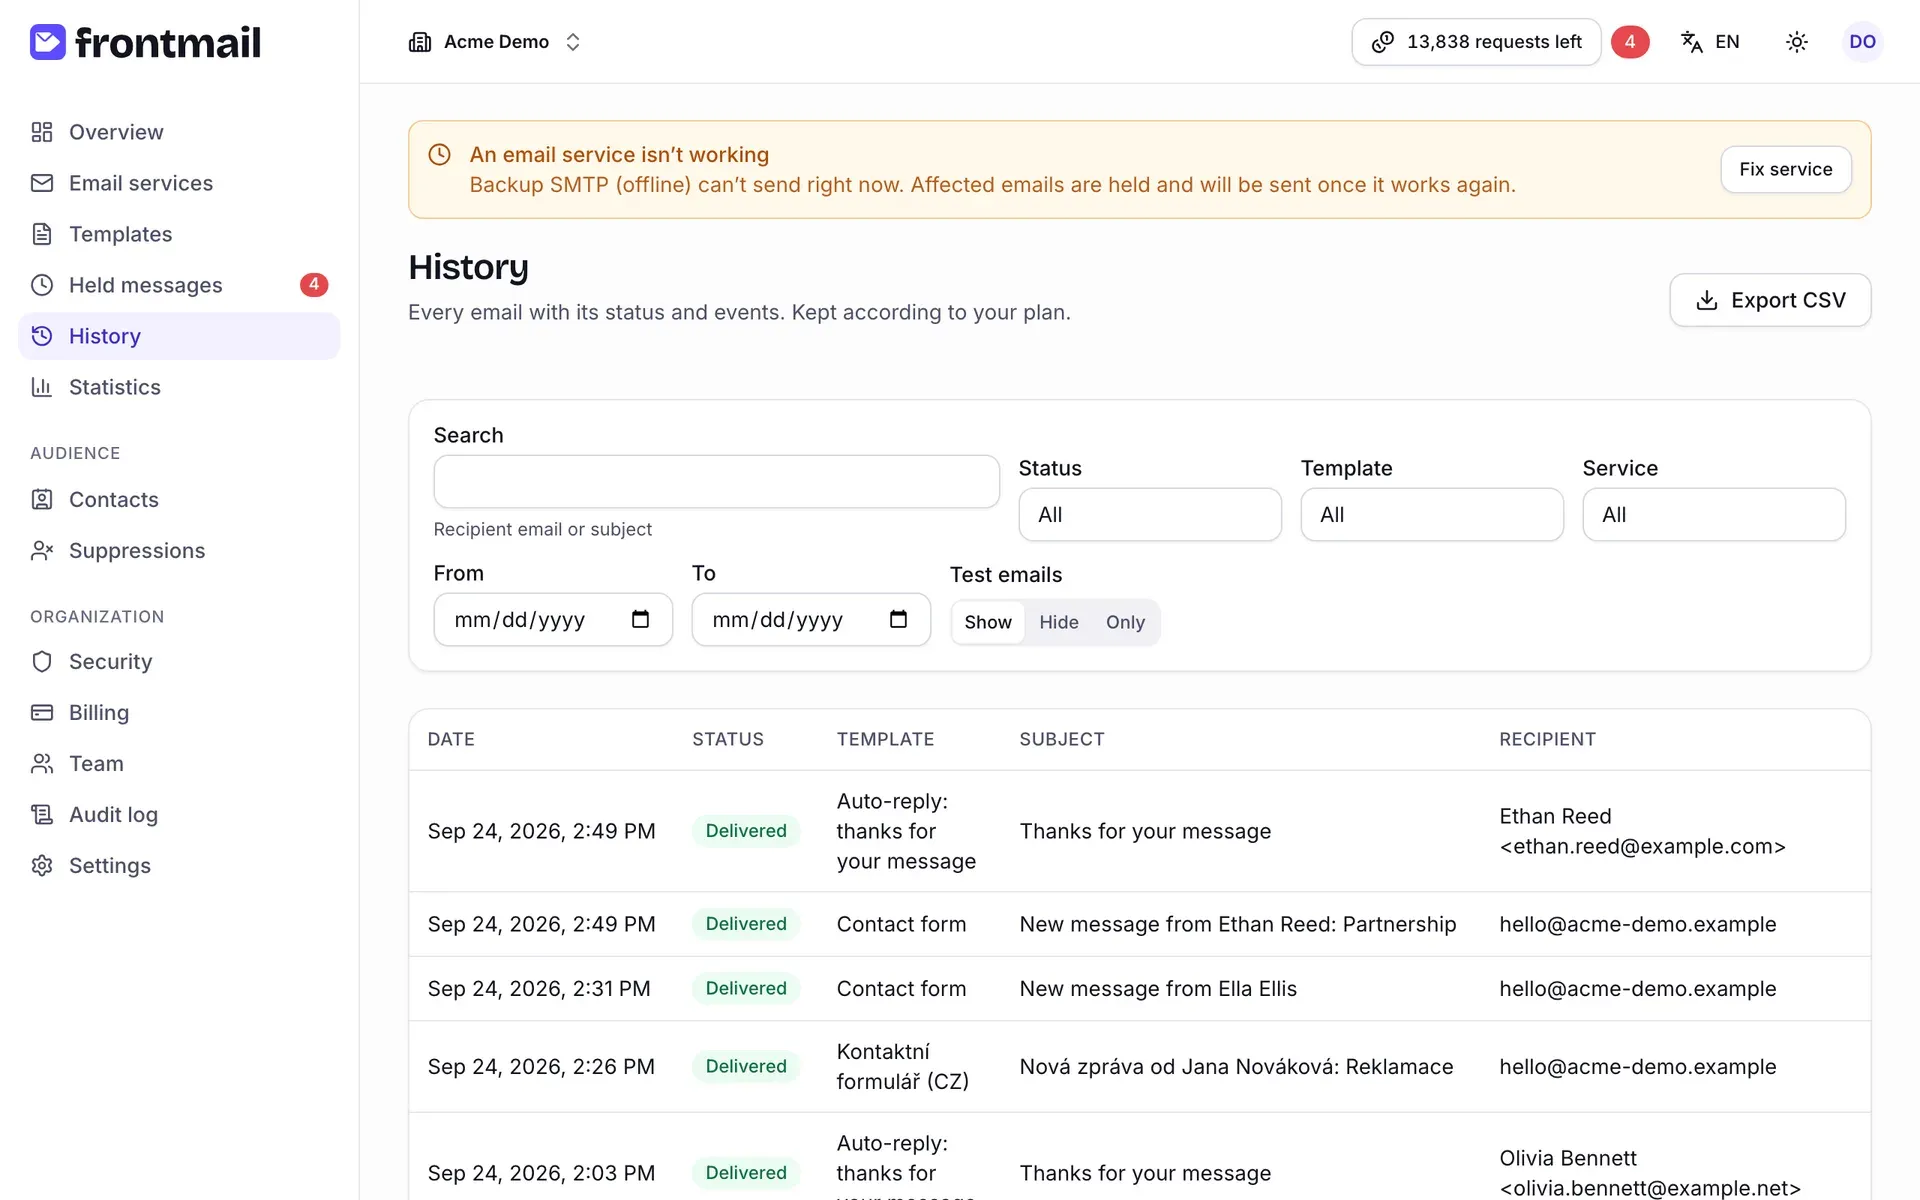
Section titled “Follow it in History”Open History. Every email is listed with its date, status, template and recipient. You’ll see your submission twice: the contact email and the auto-reply. Test emails are marked (test); the Test emails filter lets you Show, Hide or show Only them.
Click a row to open its detail: status, template and version, recipient, Source (Public key for your form, Auto-reply for the thank-you email), the Rendered email, the Parameters that were sent and the Timeline with every step and its time.
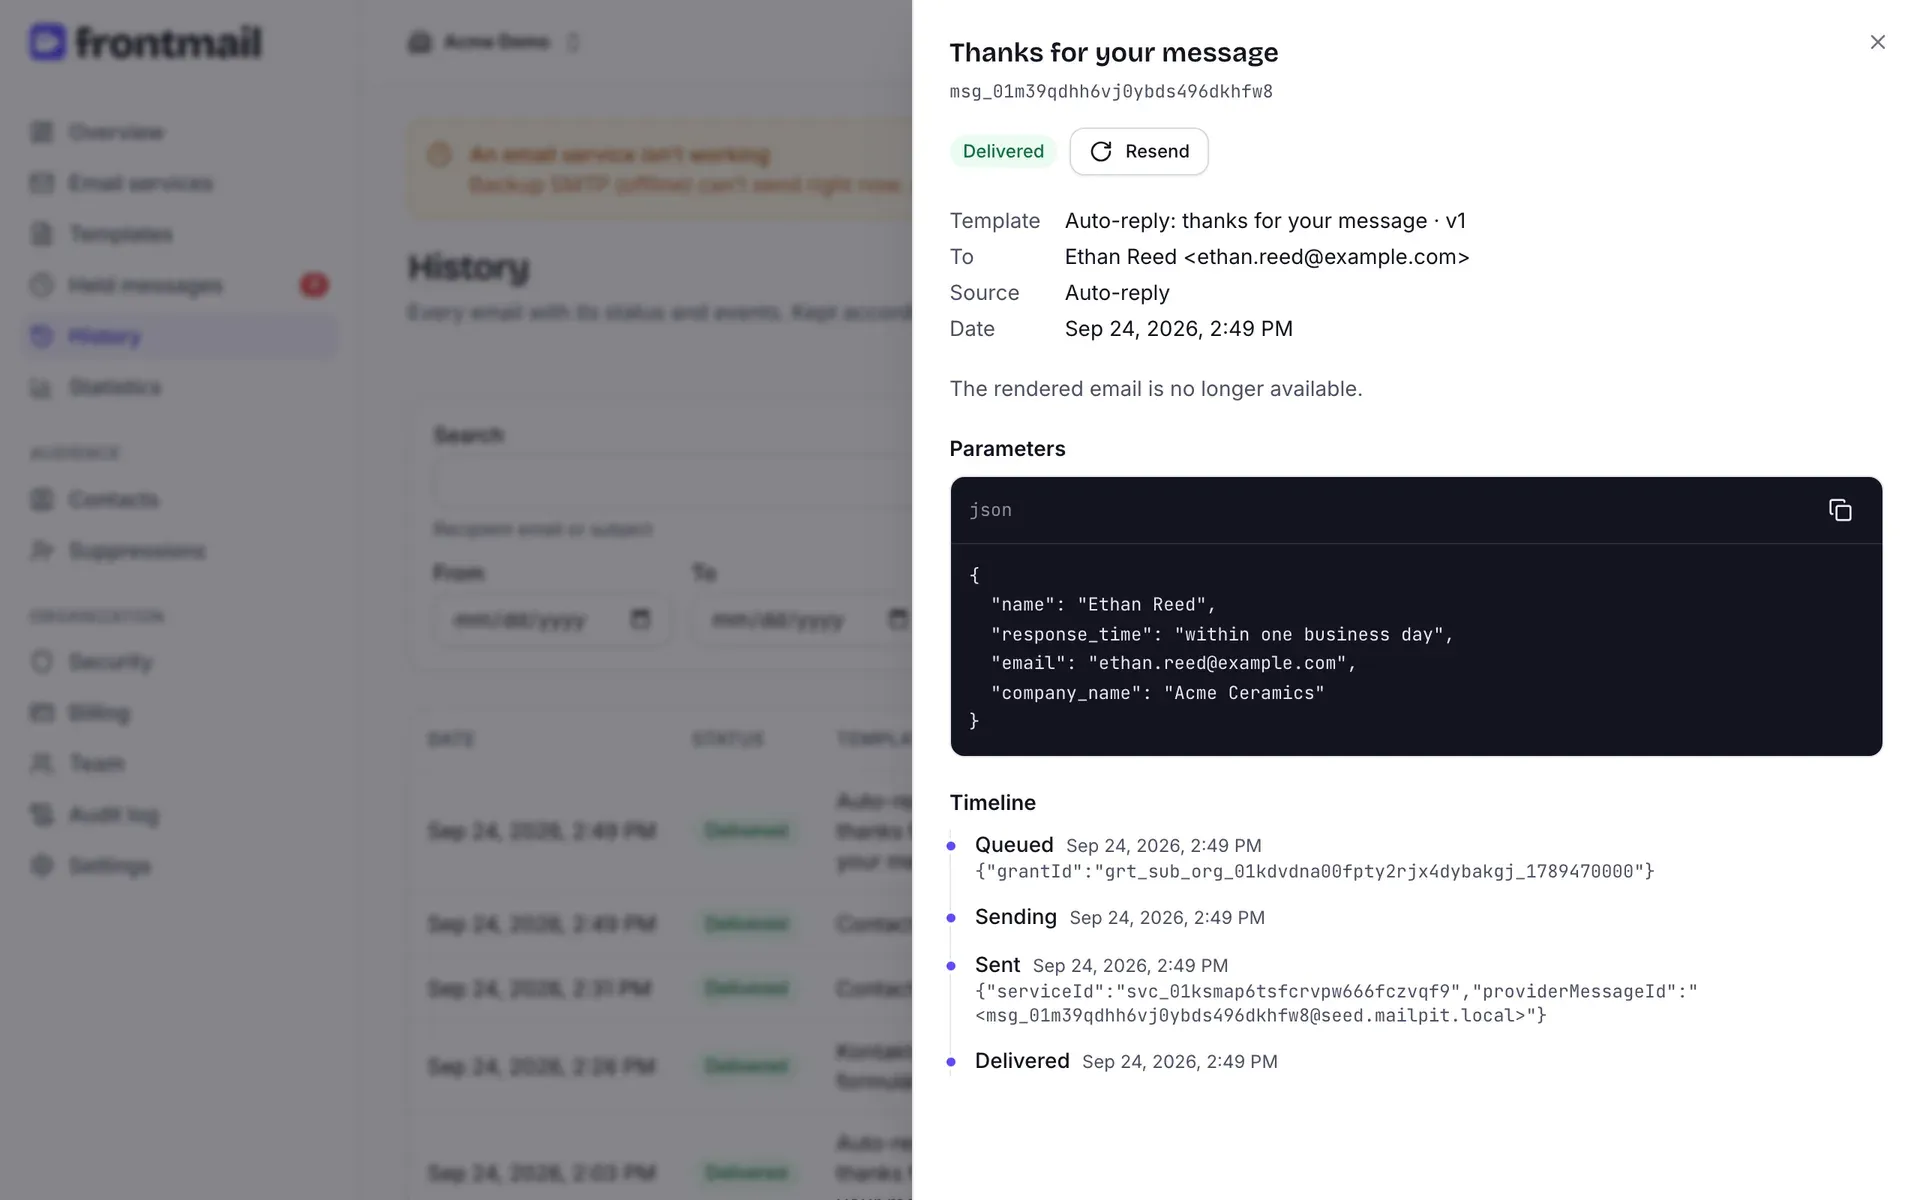
A typical email goes through these statuses:
| Status | Meaning |
|---|---|
queued |
Accepted and waiting to be sent – usually for a second or two |
sent |
Your provider accepted it |
delivered |
The recipient’s server confirmed delivery – only with providers that send webhooks (not SMTP, Gmail or Outlook) |
failed |
Sending failed for good; the timeline says why and the credit is refunded |
The contact email’s timeline also shows Auto-reply created once the thank-you email was queued. All statuses: Message statuses.
What if you run out of credits?
Section titled “What if you run out of credits?”Nothing gets lost. When your organization has no credits left, new emails are still accepted –
with the status held – and wait in Held messages. Your form treats held as success, so the
visitor sees the normal thank-you. (This is the default Hold emails behaviour; in Security
you can switch to Reject requests instead.)
As soon as credits are available again (you buy a pack, upgrade, or the next month starts), held emails are released automatically, oldest first. They’re kept for 3 days on Free and 14 days on paid plans, and you’re emailed before any of them expire. See Hold queue.
You’re done
Section titled “You’re done”Your website now has a contact form that emails you, thanks the visitor and keeps bots out – with no backend. Where to go next: