

3. Add an auto-reply
An auto-reply is a second template that Frontmail sends to the visitor right after your contact email went out. Your form doesn’t need to do anything extra – one submission, two emails.
Create the auto-reply template
Section titled “Create the auto-reply template”-
Go back to Templates → From gallery and use Auto-reply: thanks for your message (category Forms), in the same language as your contact template.
-
Open its Settings tab and look at To in the Message section. It’s already
{{name}} <{{email}}>– the address the visitor typed into your form. You can shorten it to{{email}}; just keep theemailparameter in it. -
Make it sound like you. The template has two optional parameters with defaults:
company_name– used as the From name and in the signature (default Our team),response_time– “we’ll get back to you within 1–2 business days”.
Your form won’t send these, so set your own values as defaults: Content → Parameters, click the pencil icon next to the parameter and change Default value. Or edit the text directly in the HTML.
-
Save (Ctrl/⌘ + S).
Link it to the contact template
Section titled “Link it to the contact template”-
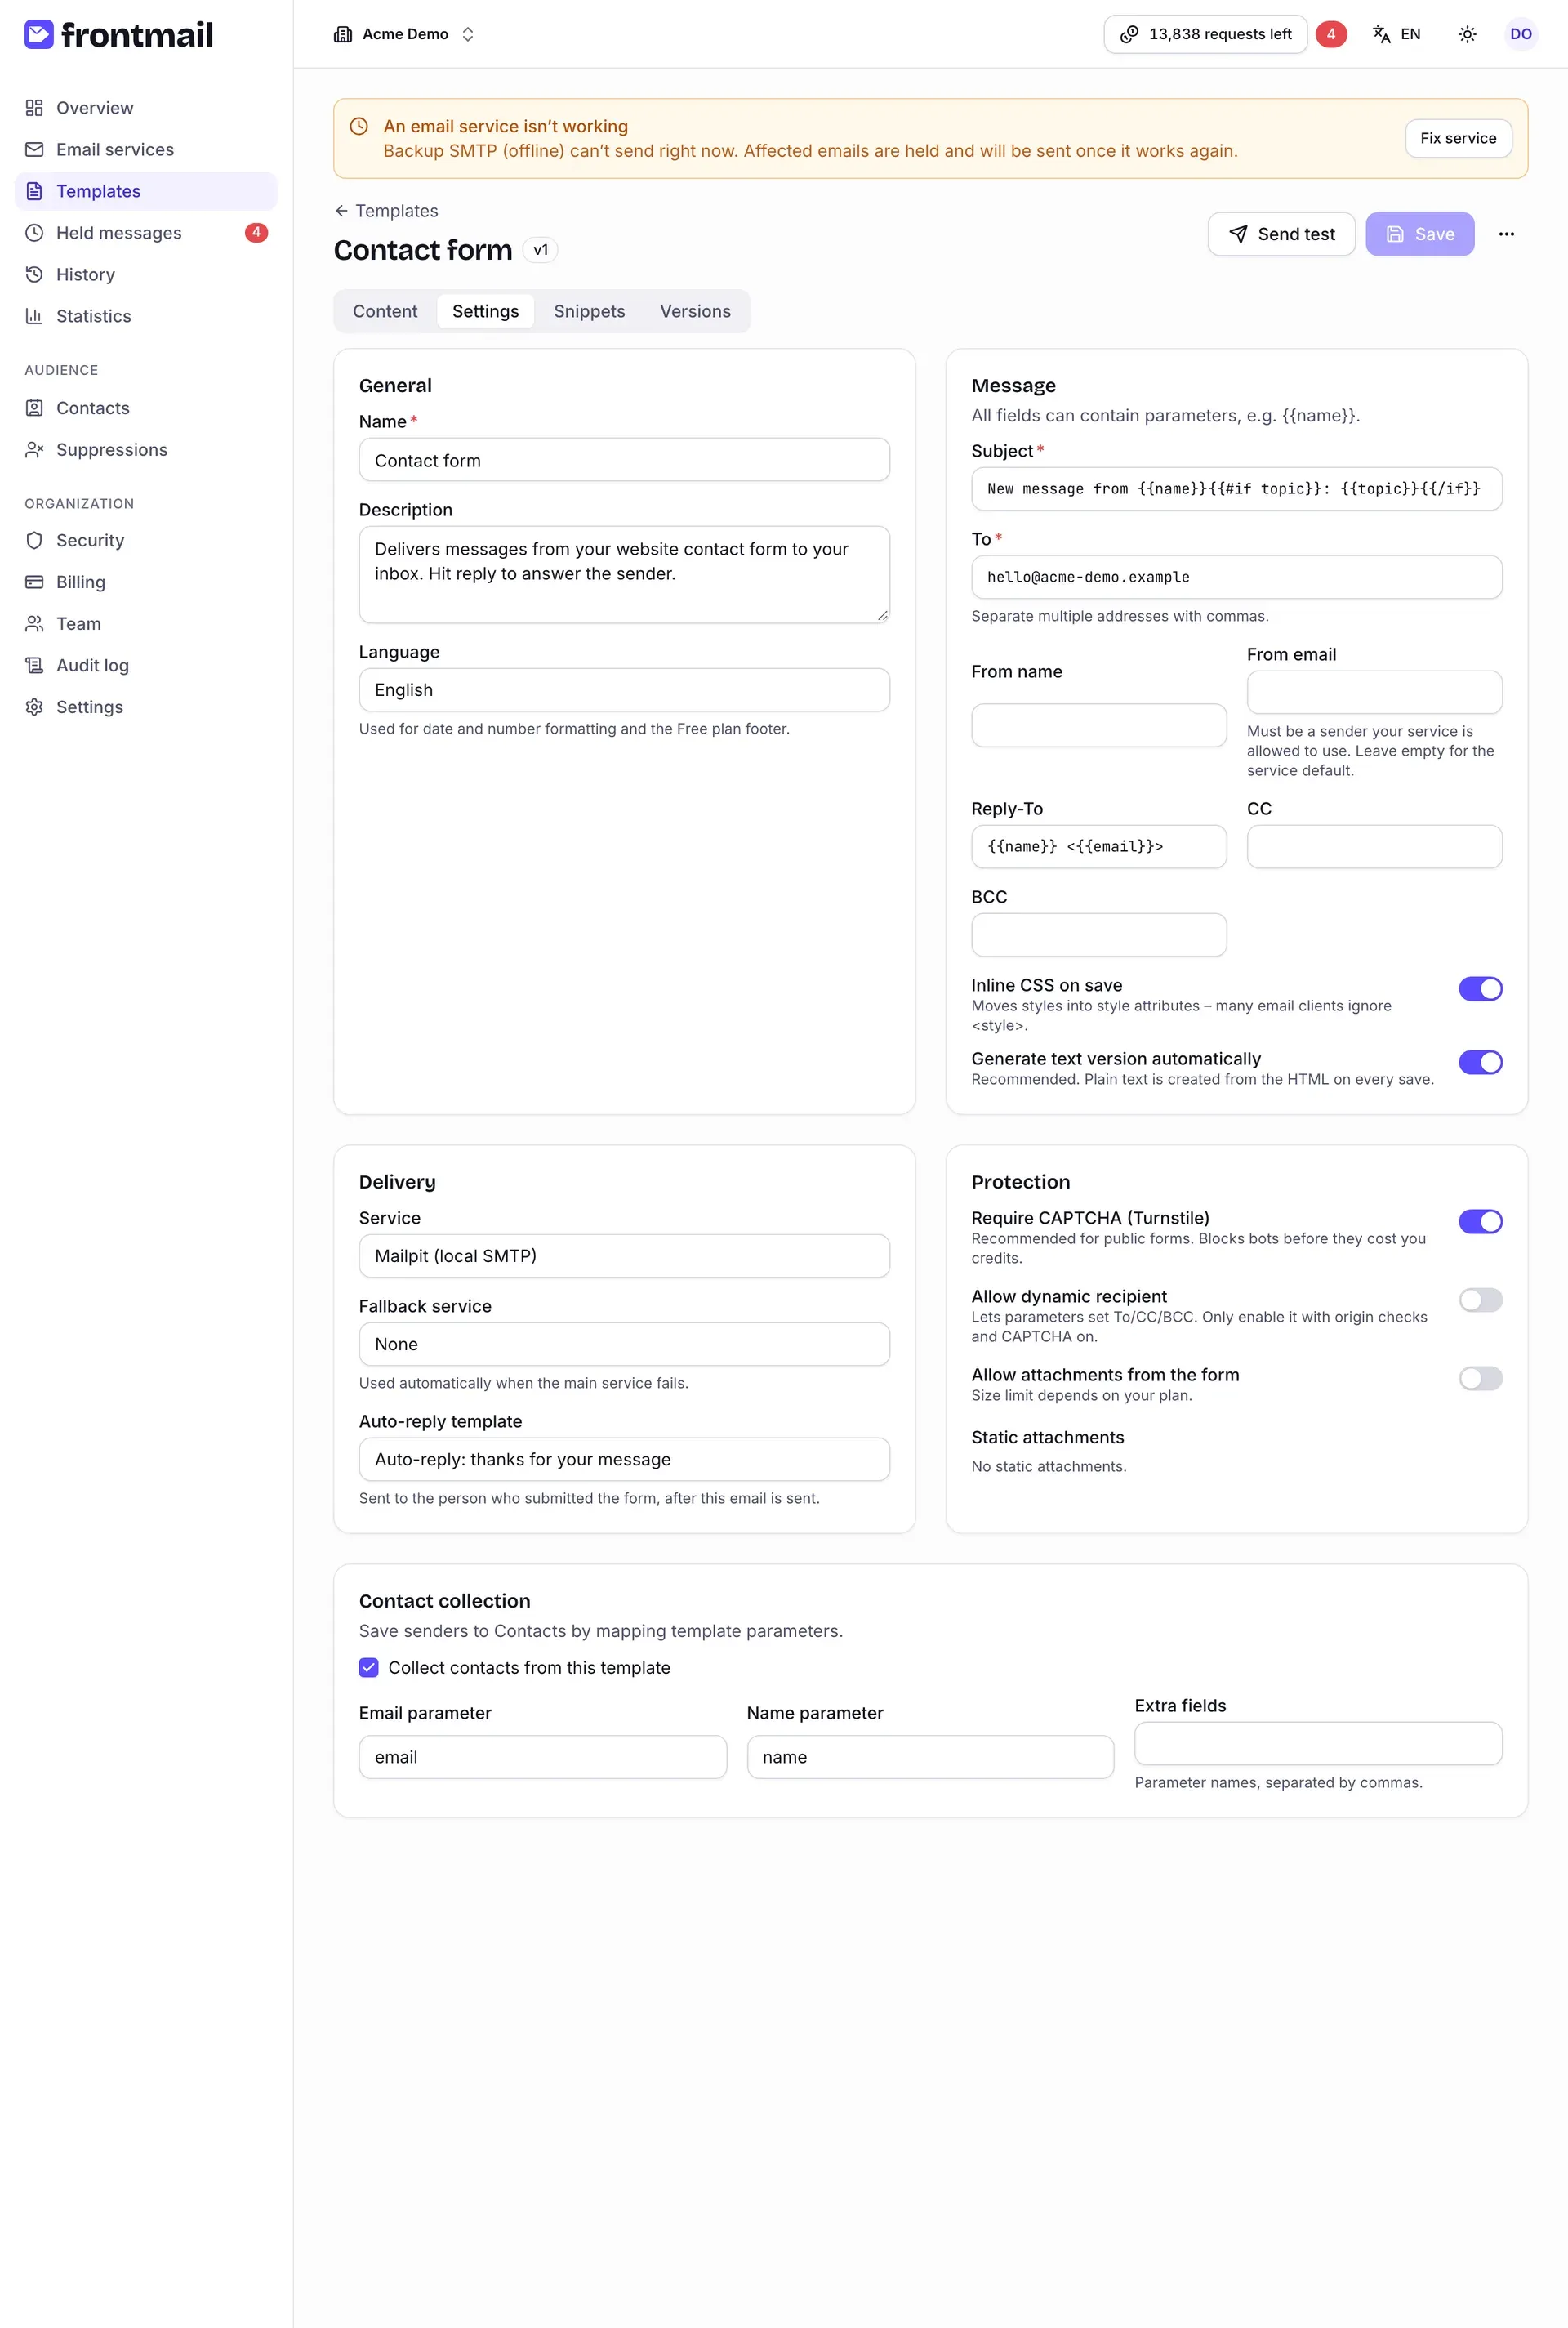
Open the Contact form template and switch to Settings.
-
In the Delivery section, choose your new template in Auto-reply template.
-
Save.
How it behaves
Section titled “How it behaves”- The auto-reply goes out after the contact email was sent successfully. If the contact email fails or waits in the hold queue, no auto-reply is sent yet.
- It receives the same parameters as the contact email, so
{{name}}or even{{message}}work in it. - It’s a separate email with its own entry in History and it uses one credit. A form submission with an auto-reply therefore costs two credits.
- Send test from the editor never triggers the auto-reply – you’ll see it in action with the real form in step 6.
All details: Auto-reply.