

5. Build the form
Now the part that lives on your website: an ordinary HTML form and a few lines of JavaScript.
Collect three values
Section titled “Collect three values”| What | Looks like | Where to find it |
|---|---|---|
| Public key | pk_… |
Security → Public key (copy button), or in the template’s Snippets tab |
| Template ID | tpl_… |
Templates list, column Template ID, or in the Snippets tab |
| Service ID | svc_… |
In the Snippets tab – or skip it and pass null to use your default service |
The easiest way is the Snippets tab of the Contact form template. It generates ready-made code for HTML / JS, React, Vue, Svelte, Node.js and cURL with your key, IDs and every template parameter already filled in.
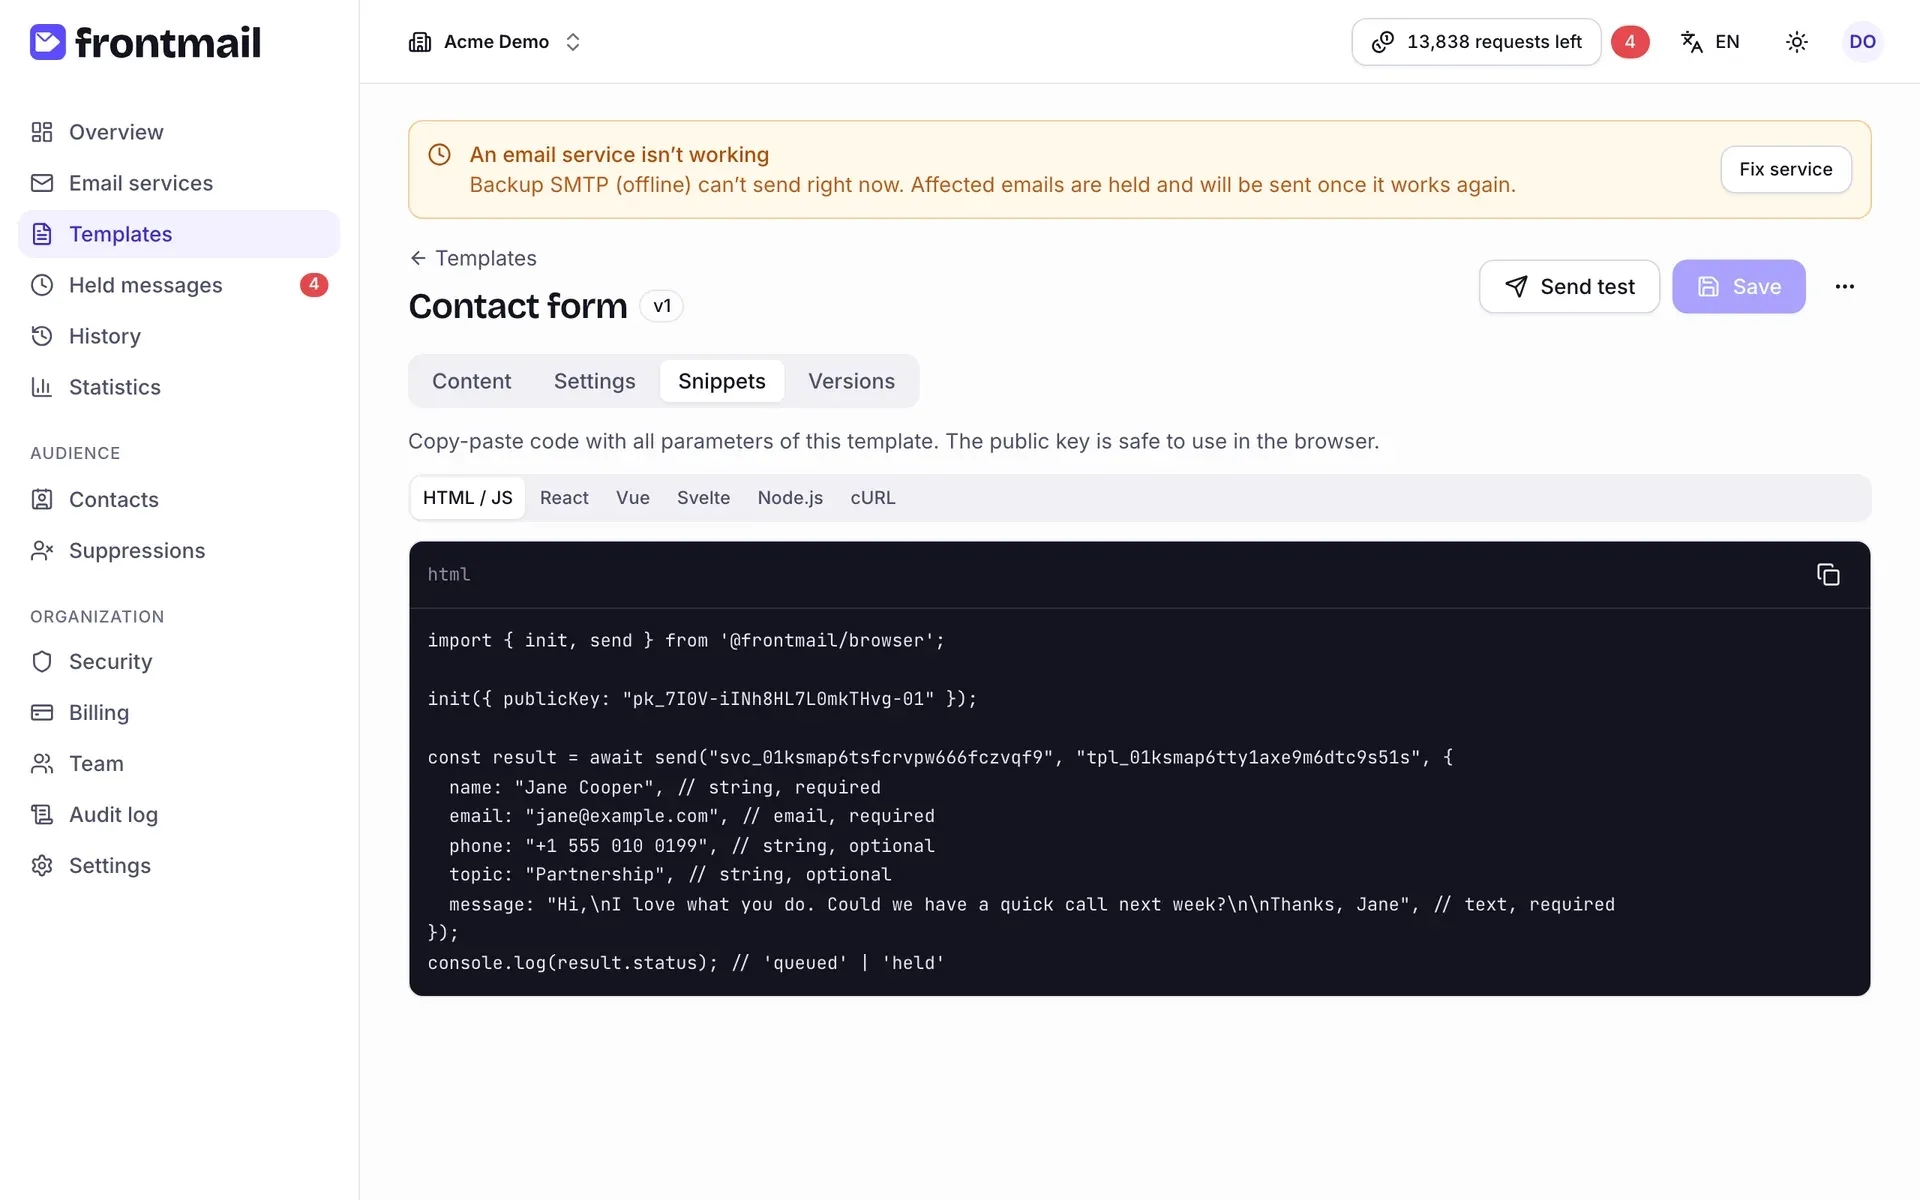
The generated snippets call send() with an object of values. For a form it’s simpler to use
sendForm(), which reads the fields straight from the <form> – that’s what we do below.
The form
Section titled “The form”-
Add the form to your page. The
nameattributes must match the template parameters:name,emailandmessageare required,phoneandtopicare optional. -
Put the Turnstile widget inside the form. It adds a hidden
cf-turnstile-responsefield thatsendForm()sends along. Use the site key of your own Turnstile widget from step 4. If you skipped the CAPTCHA for now, leave the widget out. -
Load the SDK from the CDN. It creates a global
frontmailobject. -
Call
frontmail.init()with your public key, andfrontmail.sendForm()on submit.
<form id="contact">  <label>Name <input name="name" required maxlength="200" /></label>  <label>Email <input name="email" type="email" required /></label>  <label>Message <textarea name="message" required></textarea></label>
  <!-- Turnstile adds the hidden cf-turnstile-response field -->  <div class="cf-turnstile" data-sitekey="YOUR_TURNSTILE_SITE_KEY"></div>
  <button type="submit">Send</button>  <p id="form-status" role="status"></p></form>
<script src="https://challenges.cloudflare.com/turnstile/v0/api.js" async defer></script><script  src="https://cdn.jsdelivr.net/npm/@frontmail/browser@0.1.0/dist/frontmail.umd.js"  integrity="sha384-g2Rxznkz2yb/YYSdVTkXLxZFZ2Nh2+XdhPStxh0stydXFF3gYjDuyHimWIZLJDCc"  crossorigin="anonymous"></script><script>  frontmail.init({ publicKey: 'pk_…' });
  const form = document.getElementById('contact');  const status = document.getElementById('form-status');
  form.addEventListener('submit', async (event) => {    event.preventDefault();    status.textContent = 'Sending…';    try {      // null = your default service; or paste the svc_… ID from the Snippets tab      const result = await frontmail.sendForm(null, 'tpl_…', form);      // result.status is "queued" (on its way) or "held" (accepted, sent once credits are back)      status.textContent = 'Thank you! We’ll get back to you soon.';      form.reset();    } catch (err) {      status.textContent = 'Sorry, that didn’t work: ' + err.message;    } finally {      window.turnstile?.reset(); // a Turnstile token works only once    }  });</script>
What happens on submit:
sendForm()posts the form fields, your public key and the Turnstile token to Frontmail.- Frontmail checks the origin, the CAPTCHA and the parameters, and answers within a moment with
{ messageId, status }. The actual email is sent in the background. - Both
queuedandheldmean success – the message is safely accepted. Show the visitor a normal thank-you either way. - On a problem the promise rejects with an error that has a
codeand a readablemessage, e.g.invalid_template_paramswhen the email address is invalid or a required field is missing. Network errors and server hiccups are retried automatically, without sending twice.
Using a framework?
Section titled “Using a framework?”The framework packages include a ready form component that renders the Turnstile widget and handles the sending state for you: