

Contacts and suppressions
The Audience group in the sidebar has two pages:
- Contacts – people who submitted your forms, collected automatically by templates with contact collection turned on.
- Suppressions – addresses Frontmail refuses to send to, after hard bounces, spam complaints or because you added them yourself.
Every member of the organization can see both pages. Deleting contacts, exporting them and changing suppressions needs the Owner, Admin or Developer role – for other roles the buttons are hidden. See Team and roles.
Contacts
Section titled “Contacts”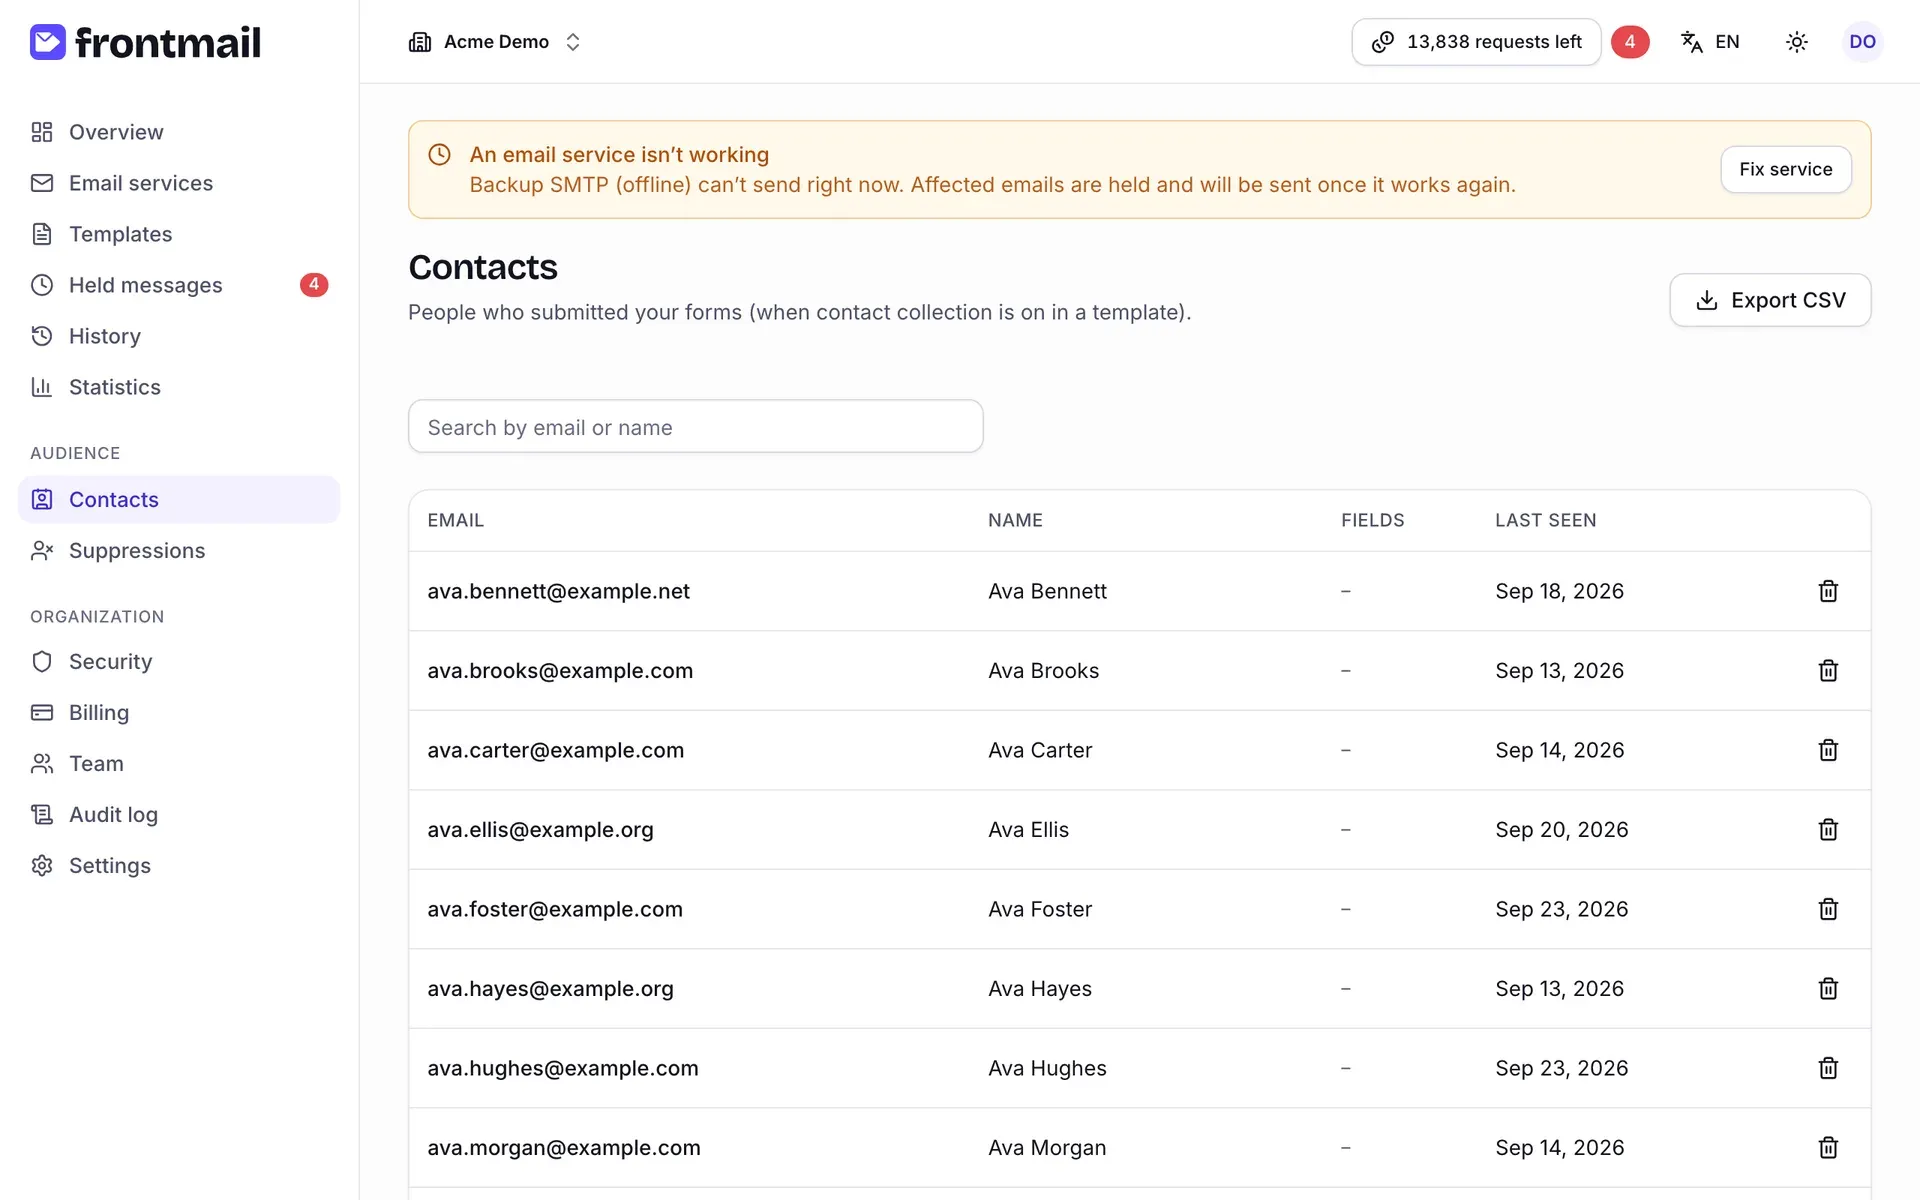
The table shows one row per email address:
| Column | Meaning |
|---|---|
| The contact’s address – it identifies the contact. | |
| Name | The value of the mapped name parameter, or – if there is none. |
| Fields | Extra fields you mapped, shown as field: value (hidden on narrow screens). |
| Last seen | When this person last submitted a form. |
Contacts appear only after you map template parameters to contact fields. How collection works and what gets stored is explained in Contact collection.
How to start collecting contacts
Section titled “How to start collecting contacts”- Open Templates and the template your form uses. If the Contacts page is empty, the Open templates button takes you there.
- Switch to the Settings tab and find Contact collection.
- Turn on Collect contacts from this template and choose the Email parameter – plus the Name parameter and Extra fields (parameter names separated by commas) if you want them.
- Save the template. The next successfully sent message creates the contact.
How to find a contact
Section titled “How to find a contact”Type into Search by email or name above the table. The list filters as you type. Use Load more at the bottom of the table to see older contacts.
How to export contacts
Section titled “How to export contacts”Click Export CSV in the top right corner. The browser downloads a CSV file with all contacts of the organization. Exports are recorded in the audit log.
How to delete a contact
Section titled “How to delete a contact”- Click the trash icon at the end of the contact’s row.
- Confirm with Delete in the Delete …? dialog.
The contact and its stored fields are removed. If the same person submits your form again, the contact is created again – to stop collecting, turn off contact collection in the template.
Suppressions
Section titled “Suppressions”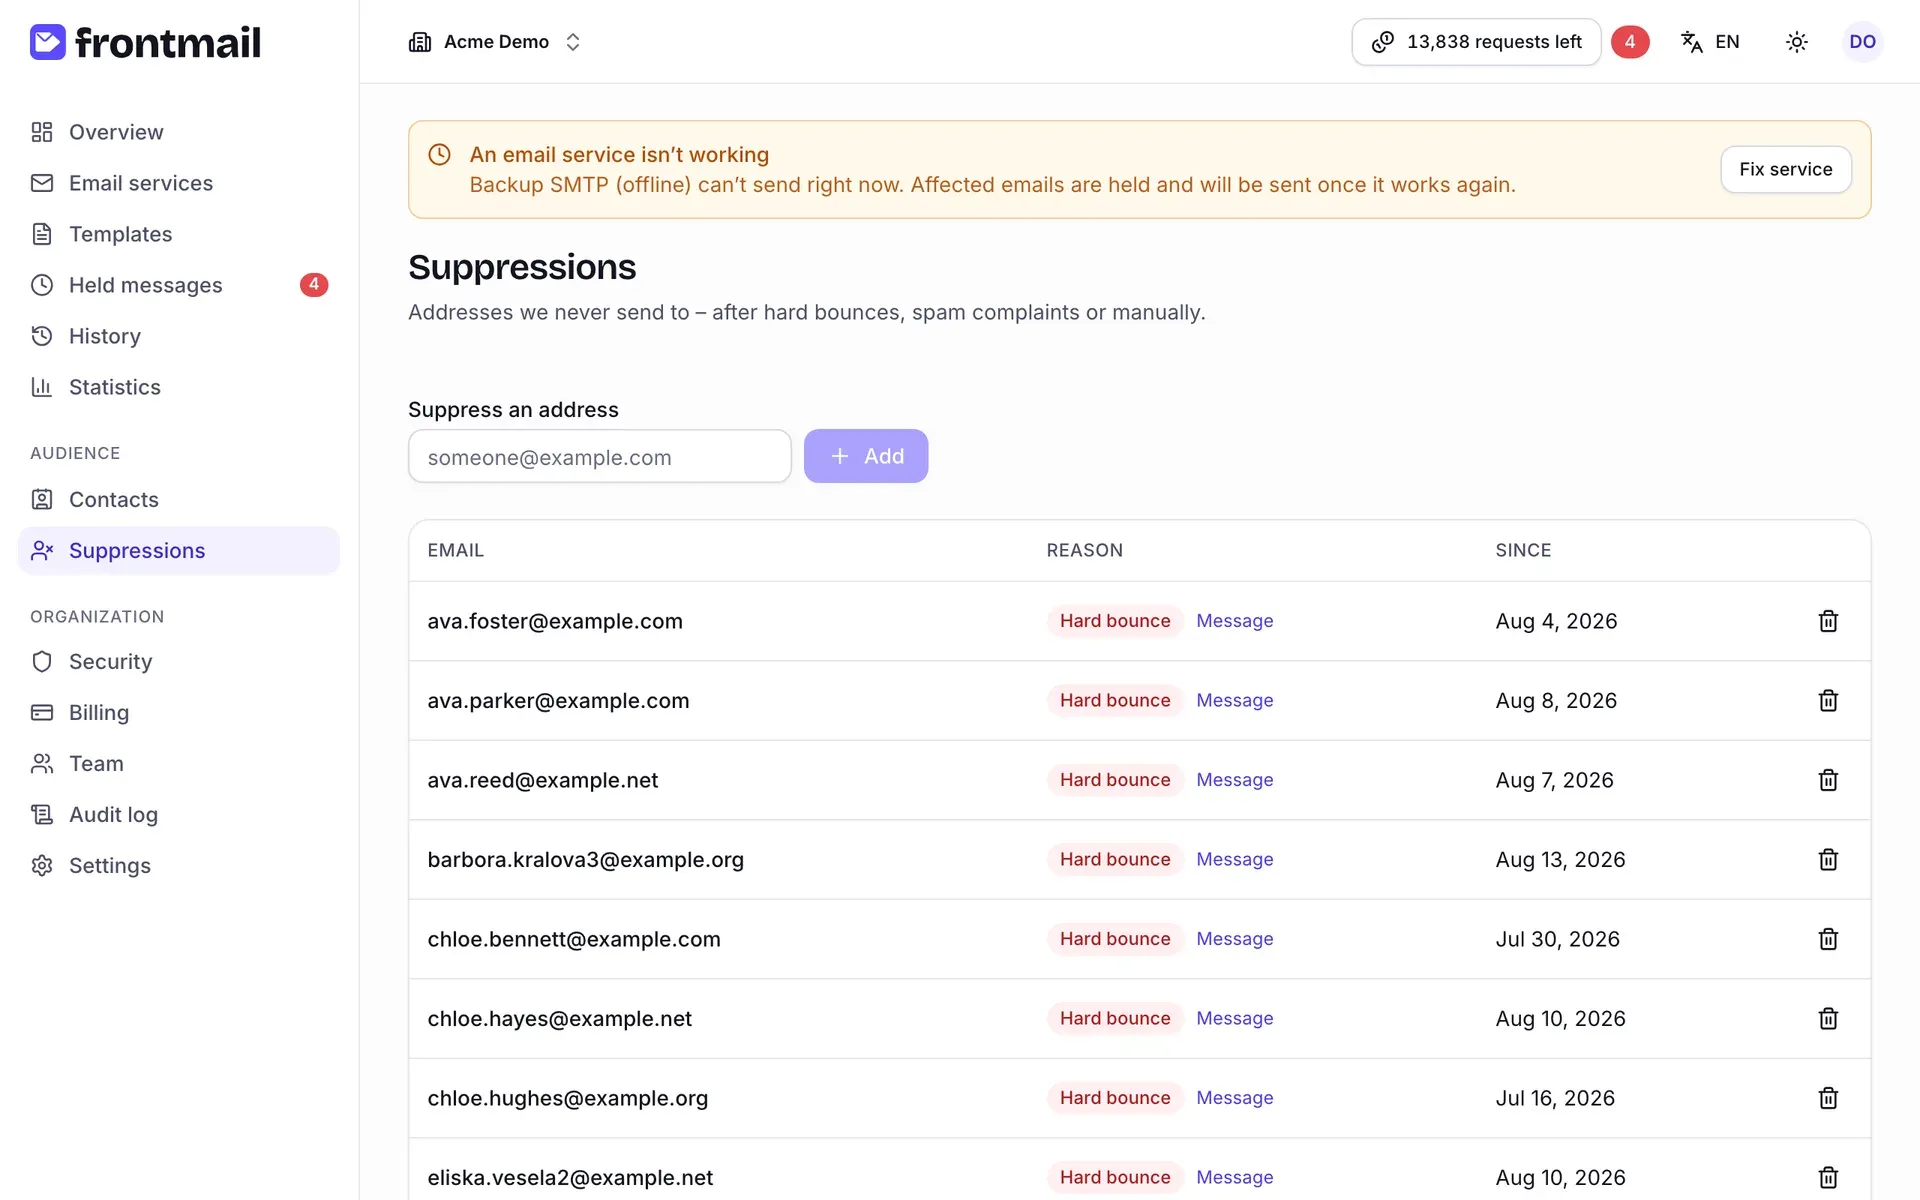
The table lists every suppressed address with:
| Column | Meaning |
|---|---|
| The suppressed address. | |
| Reason | Hard bounce, Spam complaint, Manual or Unsubscribed. For bounces and complaints, the Message link opens the email that caused it in History. |
| Since | When the address was added. |
Hard bounces and complaints are added automatically when your email service reports them through delivery webhooks – see Suppression list for how addresses get on the list.
What happens when you send to a suppressed address
Section titled “What happens when you send to a suppressed address”If any recipient of a message – To, CC or BCC – is on the list, the API rejects the whole request
with 451 recipient_suppressed. Nothing is sent, no
credit is used and the message doesn’t wait in the hold queue. The error details name the
suppressed address and the reason.
How to suppress an address
Section titled “How to suppress an address”Use this when someone asks you to stop emailing them, or for addresses you know are wrong.
- Type the address into the Suppress an address field above the table.
- Click Add.
The address appears in the table with the reason Manual.
How to remove an address from suppressions
Section titled “How to remove an address from suppressions”- Click the trash icon at the end of the row.
- Read the warning in the Remove … from suppressions? dialog and click Remove.
Frontmail sends to the address again straight away.
Adding and removing suppressions is recorded in the audit log.